
Thanks to DJ controllers, a DJ setup has shrunk to a compact and affordable format. After all, right up into the 2000s, your wallet also determined who got behind the DJ booth, as not everyone could afford the expensive equipment and music media.
With a DJ controller, DJ software and streaming, however, almost anyone can now get started as a DJ – perhaps even you.
DJ controllers for different requirements
First of all, a distinction is made between DJ controllers that are designed exclusively for one or more DJ software applications such as Serato DJ, rekordbox DJ, Traktor, djay or VirtualDJ. This is referred to as certification. These DJ controllers require a connected laptop with the software installed and work with it via plug and play.
The software is therefore recognised automatically and you can get started straight away without having to make major settings. Affordable DJ controllers only work with the so-called Lite versions of DJ software unless you upgrade to the Pro version. Only DJ controllers above the 600-euro mark unlock the Pro versions of the programs.
These models offer a good starting point:
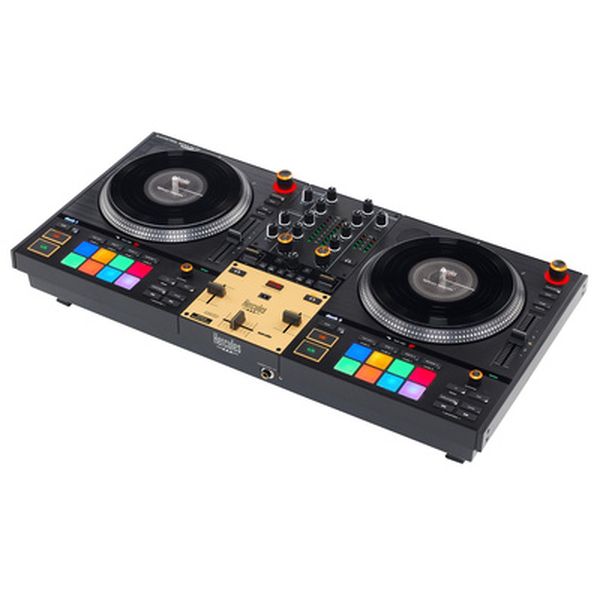
Ever heard of a standalone controller? These have additional inputs for external sources such as turntables and CDJs, allowing the controller to be used as a mixer too, such as:

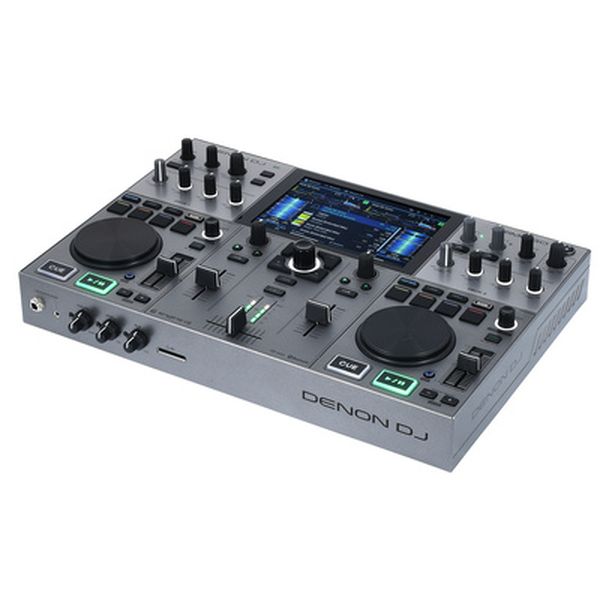
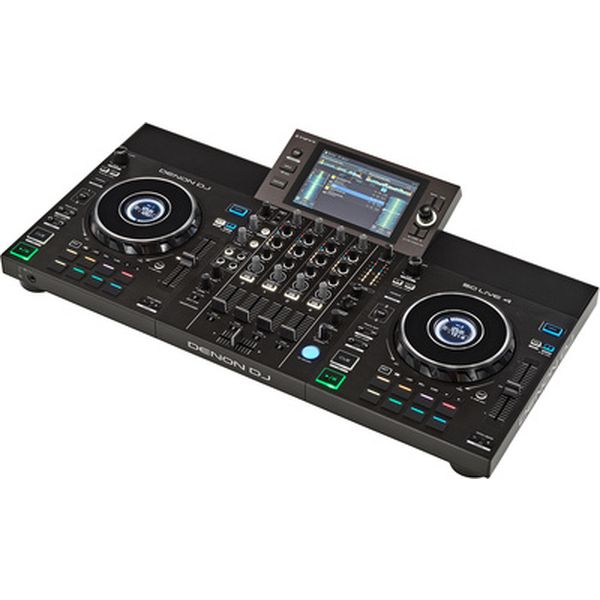
So-called all-in-one systems support multimedia music management not only via a laptop with DJ software, but also from USB sticks, hard drives, SD cards and streaming. Models like these no longer require a laptop for digital DJing:
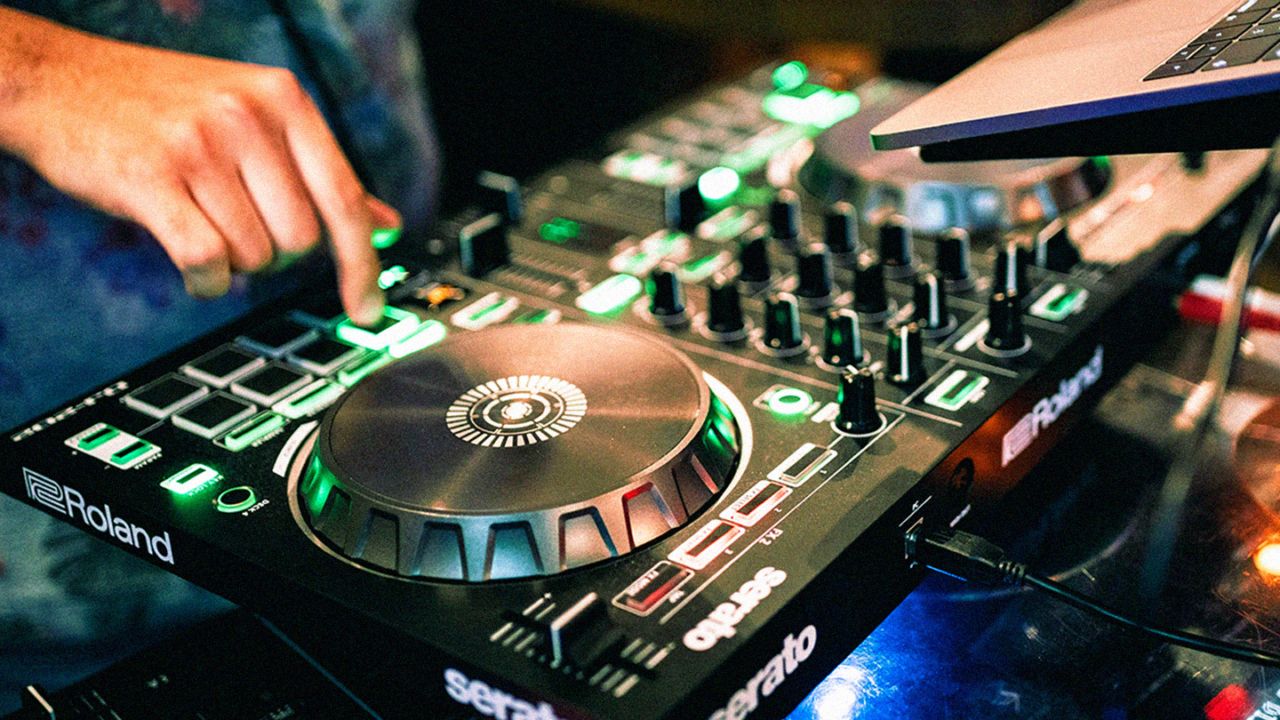
The components of a DJ controller
A DJ controller is essentially defined by three areas: the decks on the left and right, consisting of:
- Transport section: The Play/Stop button starts and stops tracks, while the Cue button fixes the first beat and is used to count in the track when triggering it for beatmatching and mixing. Sync automatically matches the speed of the tracks.
- Pitch control: This lets you change the tempo by 8, 16 or 50 per cent.
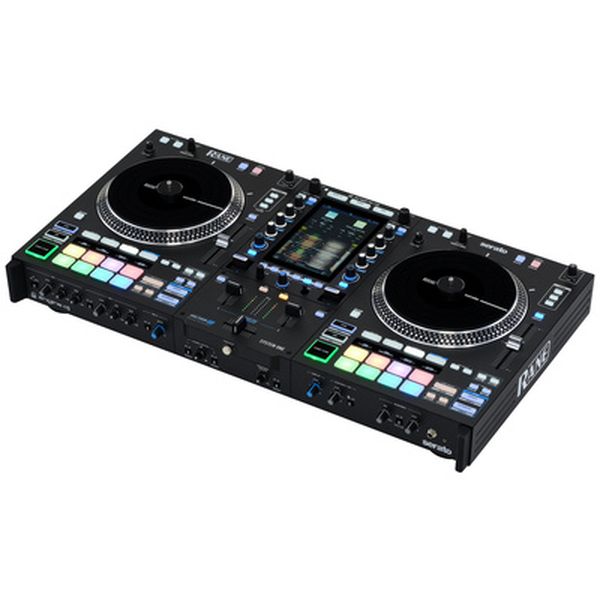
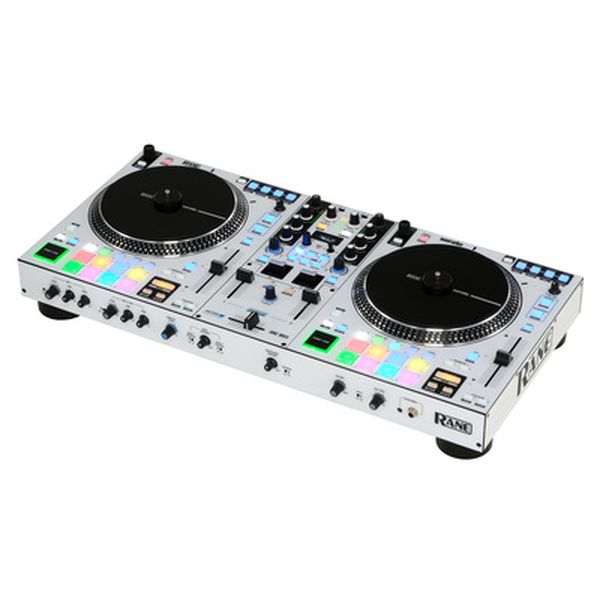
- Jog wheels: These rotating wheels are, in a sense, the platters of your decks. They are used for searching through tracks, nudging and slowing down (known as pitch bending), scratching or finely adjusting the phase alignment of the beats. On controllers aimed primarily at DJs with a turntable background, the jog wheels are equipped with a 7-inch acrylic platter and a motor, and actually rotate, creating a feel that is very close to vinyl. Examples would be:
- Performance pads: This matrix of sixteen pads, often illuminated in multiple colours, offers several modes. The most common are hot cues, loops, loop rolls, beat jumps and samples.
- Loop section: Using this dedicated unit, you can extend tracks for transitions or as an effect through repeating loops, either with manually set start and end points or as an auto loop with a preset grid from 1/32 to 32 beats.

Added to this is the mixer unit connecting the two decks, with:
- Line faders: DJ controllers have either two or four channels, and accordingly two or four faders with which the channels are faded in and out. They control the volume of the decks and are used for mixing.
- Crossfader: As the link between two line faders, it blends between two channels. Its curve can sometimes be adjusted either in three steps (linear, steep, sharp) or continuously in order to adapt the rise of the incoming signal. Most DJs use the crossfader for so-called chop mixing, either to bring in the follow-up track seamlessly without a fade or to cut fragments of another track into the one currently playing according to a certain pattern. Scratch DJs use the crossfader to perform so-called cuts. For this, a sharp curve and minimal cut-in are required. Cut-in defines the distance the fader travels from the edge position before the signal becomes audible when the crossfader is opened. More expensive controllers also feature a wear-free crossfader, sometimes with adjustable glide resistance, making it smooth and easy to move so that cuts can be performed particularly quickly.
- EQ controls: These knobs filter the bass, mids and highs, depending on the model, either attenuating them by a certain number of dB, isolating them completely or boosting the frequencies in the relevant range. They help mask sound deficiencies and make transitions less noticeable.
- Gain controls: These preamp knobs for each channel, often also described as trim, compensate for volume differences between the individual channels without using the channel fader, should one track be quieter than another.
- Effects section: This usually consists of echo, delay, flanger, reverb, filter and more. A distinction is made between so-called on-board effects, which are built directly into the controller and do not require connected DJ software, and software effects.

This section consists of the on/off switch, sometimes iconic levers as found on Rane models, the intensity knob (from dry to wet) and the adjustable beat length of the effect.
Some controllers also have so-called channel FX: four to six additional selectable on-board effects such as filter, flanger and phaser, each assigned to a channel via its own knob and combinable with the effects section.
- Browser section: To avoid scrolling through the library on the laptop and loading tracks into the decks from there, you use this section, consisting of the Load/Back button and an endless rotary encoder.
- Level meter: This instrument displays the pulsing signal level of the headphone and master output signals. As a visual reference, it helps you keep the master volume constant and bring the channel levels to a common level.
- Headphone section: This lets you pre-listen to tracks using the activated Cue button. In addition to the volume control, it usually has a Cue Mix control for continuously blending the master signal into the cue signal, as well as a split switch that sends the master and cue signals separately to the two headphone earcups.
- Inputs: Entry-level models only offer a connection for the laptop, occasionally a line RCA input and a microphone jack connection. The standalone models already mentioned provide greater flexibility in terms of playback media thanks to additional RCA sockets for phono and line. In addition, another USB port is provided for so-called back-to-back operation with a second laptop.
- Outputs: With outputs, too, the cheaper models are limited to the essentials: two RCA sockets (RCA is also known as phono), sometimes with two more as a record output. As use becomes more professional, controllers require additional outputs such as two master outputs as XLR and RCA, plus one for the adjustable booth output (monitor speakers) as a 6.3 mm jack. More recently, Bluetooth and WiFi connectivity have also been playing an increasingly important role.

DJ controller – first steps: the settings in the DJ software setup
For most DJ controllers that only work in conjunction with DJ software, you will need a laptop, desktop computer or tablet. Depending on the age and corresponding processor power and RAM of your hardware, you adjust the latency, also known as the buffer, in the preferences of the respective software. On older computers, a buffer that is too small causes a data bottleneck between the computer and DJ controller, audible as dropouts. The flip side: a buffer set too high, above five milliseconds, causes the software to react with too much delay to the commands sent by the controller. So, alternatively, check your computer’s setup for display options, for example whether you can reduce the resolution and refresh rate. This also relieves the RAM and CPU, allowing you to reduce the buffer again.
DJ controller: setting up and connecting the DJ controller
Connect the master output of your DJ controller to the line input of a receiver or integrated amplifier, or connect two active speakers directly to the output of your console. Make sure that the speakers are not too far away from the position of the DJ controller. This protects your neighbours’ ears on the one hand and lets you hear the signal more directly on the other.
If you want to save money on an external PA system and also enjoy DJing on the go with your console, I recommend a DJ controller with a built-in speaker system:
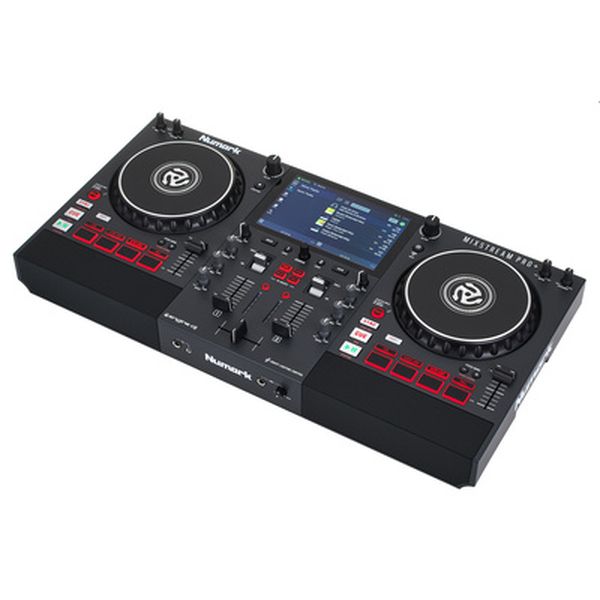
Numark
Mixstream Pro+
Do not forget to connect your headphones.
The first steps: sorting your music
Of course, you need to feed the library of your DJ software with music before you can “play” with your DJ controller at all. You can either take the classic route by loading music saved on your hard drive into the DJ software. Or you can log the controller into the account of your favourite streaming service, be it Spotify, Apple Music or one of the many alternatives. This gives you a full music library in one go, although you will always be dependent on an internet connection, which should not be a problem at home.
It is best to limit yourself to a few hundred songs, which you then sort into crates by genre. Analyse them and place hot cues at key points such as the start of the beat, the break, the drop and also vocals in the track.
DJ controller: loading tracks
DJ controllers have a browser section that allows you to switch between the crates in your library independently of the laptop keyboard, scroll through the respective crate, select tracks and load them into the decks. Personally, however, I rarely use this feature. I prefer to find songs by entering text in the search field. It is quicker, provided you have the names of the tracks and their correct spelling in your head.
DJ controller – first steps: the first transition
For your first test run when mixing, it is best to load two tracks with a distinctive, simply structured beat and the same BPM onto both decks. House tracks are very suitable for beginners because, with their “four on the floor” beat and clear emphasis on 2 and 4, they have an easily recognisable structure. Hip-hop and broken beats are correspondingly harder. If the tempo does not match, press the Sync button on the slower track so that it adopts the faster one’s tempo. Move the channel fader of the left deck – most DJs always start with the first track on the left – upwards and make sure the master level is set moderately.
Start the track on the right deck with the Play button only in the headphones, with its Cue button active on the channel, and press the Cue button on the first beat, the so-called downbeat. If you did not catch the first, slightly heralded thump of the bass drum exactly, turn the jog wheel carefully to correct it and confirm again with the Cue button. In addition, press an unassigned hot cue button on the performance pads to store the downbeat of this track permanently. The position stored on the Cue button is only temporary.

Then tap along with the Cue button of the right deck in time with the bass drum of the left-hand track. After four “count-ins”, meaning trial taps on the Cue button, switch to the Play button on the fifth time to start the track. With the right timing, both tracks will now be beat on beat, i.e. in phase. If not, gently slow down or speed up with the jog wheel to correct it (pitch bending). Finally, slowly fade in the right-hand track, which should be at the same level as the cue signal, and then smoothly fade out the left-hand track. Your first transition is complete!
DJ controller: improving transitions
To make your transitions smoother and more energetic, use the following functions on the DJ controller:
- Bass EQ – By first eliminating the bass on the incoming track B and then switching the bass between track A and B during the transition, the changeover sounds smoother.
- Loops – This allows you to extend the transition, but also to build dramatic tension by shortening the loop in time with the beat.
- Beat jumps – These let you skip bars in the track to make the transition more compact or generally shorten a track that drags on.
- Echo – Adding echo to the track that is about to leave the mix gives it an effective send-off.
More blog articles about DJing
DJ transitions – the five most important ones
Club decline 2.0 – why the scene has to reinvent itself
Your Thomann advice on DJ equipment
Do you have questions about DJ equipment? The Thomann team will be happy to help you and offer non-binding advice.
Get in touch by email, phone or via chat on the website.
Feel free to browse thomann.de too – this link takes you to DJ equipment.
On the product pages, you will find detailed information about each individual item – simply scroll down!
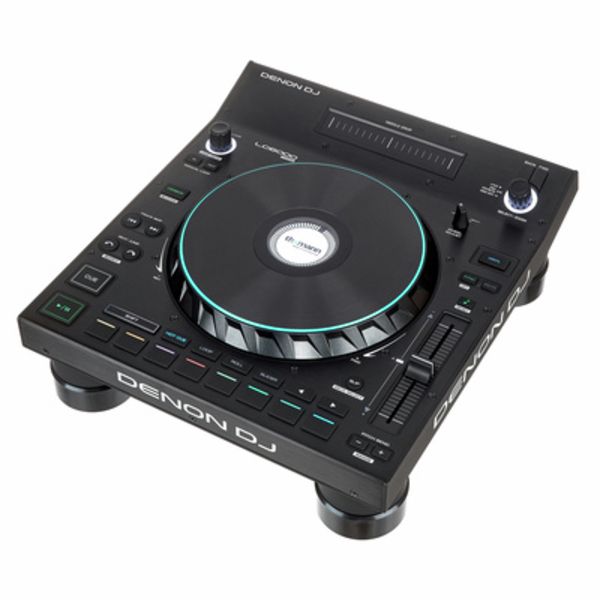
Denon DJ
LC6000 Prime
Conclusion
What you get out of your DJ controller does not depend solely on its price and therefore its features, but far more on how well you know how to use it with the “DJ basics” you practise.
DJ controller: Your feedback
Do you have a favourite controller or any other tips for anyone wanting to get started with controller DJing? Let us know in a comment!

This is a translation of an article originally written by guest writer Dirk Duske for the German t.blog.


Comments 0
No comments yet.