
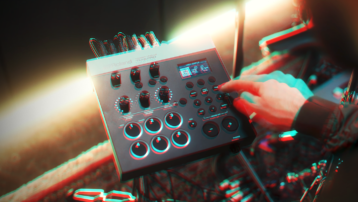
We explain when it’s time to invest in a multi-outlet power supply for your pedalboard and which one is best for you.
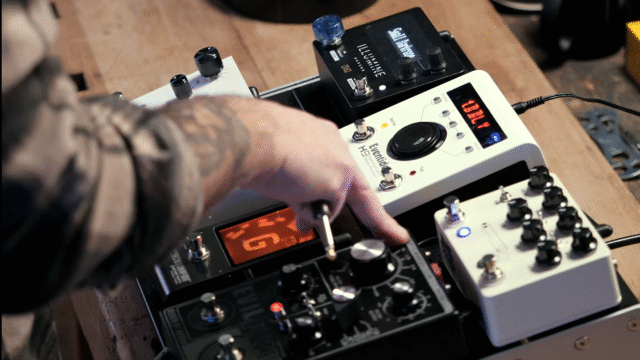
As a guitarist, you know how it goes: you start out with just a tuner and maybe an overdrive pedal. Soon after, you decide to add a delay and a chorus. And wouldn’t a phaser be nice, too? At some point, your effects pedals move to a permanent home on the pedalboard … and it just keeps growing from there. While you might be able to get by with batteries, individual power supplies, or daisy chain cables at first, it eventually becomes a nightmare. Then it’s time to ask yourself: Do I need a power brick? And the question shouldn’t be taken lightly, because you could easily buy several new pedals for the price of some professional power supplies.
Amperage, current draw, voltage, polarity: get to know the terms
Amperage and current draw are among the most important parameters when choosing a power supply. Each pedal has a specific power consumption (or current draw), which is stated in milliamperes (mA) and can usually be found on the housing or in the manual. The required minimum amperage of a power supply unit (also specified in mA) must be equal to or higher than the total power consumption of the connected pedals.
Common current draw ranges:
- 5-70 mA for analogue pedals (wah, overdrive, distortion, many modulation effects),
- 70-250 mA for digital effects (digital delay, reverb, looper, digital modulation),
- 250-1000+ mA for complex digital effects (multi-effects, modeling amps).
The voltage of pedals and power supplies is stated in volts and should always be the same on both sides. The majority of guitar and bass effects now run on 9 V. However, some effects may also require 12, 15, or 18 V. In addition, some distortion effects and compressors offer a voltage range for different sound options (e.g. 9-18 V).
When it comes to polarity, most effect pedal manufacturers have agreed on the “center negative” standard. But even here, there are exceptions to the rule, and some pedals require their own dedicated power supply unit or a polarity adapter.
In the beginning was the daisy chain
Daisy-chaining is a method of operating several effect pedals on a single power supply. It involves connecting several pedals to a single power source using a distribution cable, so that they “share” the current. If you only have a small number of (analogue) pedals, daisy-chaining is the perfect solution. However, make sure to use a high-quality power supply to ensure a stable voltage and minimal noise.
the sssnake
DC3 Cable
(Daisy chain for up to three pedals)
Which power brick is right for me?
Multi-outlet power supplies, or so-called power bricks, can supply power to multiple pedals simultaneously. They’re available in different sizes and with different features. Most feature isolated outputs. This means that no ground loops or interference currents can occur, ensuring optimum operation of analogue and digital effects. You can think of the outputs of a power brick as multiple individual power supplies. When choosing a power brick, pay attention to the following details:
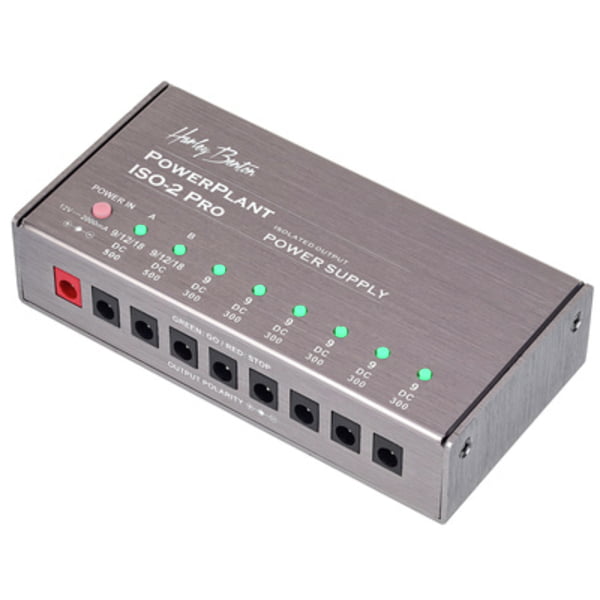
Harley Benton
PowerPlant ISO-2 Pro
(An affordable power brick with isolated outputs: Harley Benton PowerPlant Iso-2 Pro)
Number of outputs
A simple matter. Number of pedals = required number of outputs. However, you can also save space and money by connecting several less demanding analogue pedals (such as distortion) to a single output via a daisy chain.
Maximum current
Determine which of your pedals have the highest current draw (anything from around 150 mA) and whether the power brick offers enough high-current outputs for them. In the case of a power brick without isolated outputs, you need to figure out the total power consumption of all your pedals and compare it with its total output. Non-isolated power bricks can be thought of as a daisy chain in a housing.
Voltage and polarity
Are there any “outliers” among your pedals that deviate from the 9 V, centre negative standard? Then make sure that the power brick offers the appropriate outputs (12/15/18 V outputs or polarity converters). You can also get polarity-converting adapter cables. Y adapters for combining two output voltages (voltage doubler) or two currents (current doubler) are also available.

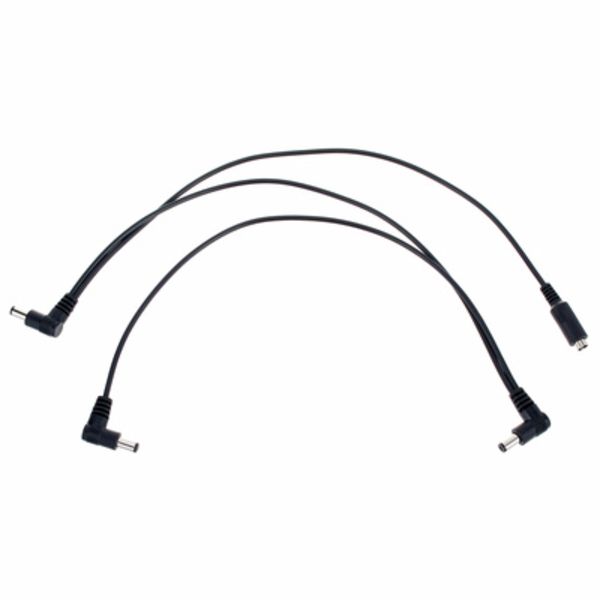
Rockboard
Power Ace Polarity Converter
(Adapter for “centre positive” effects)
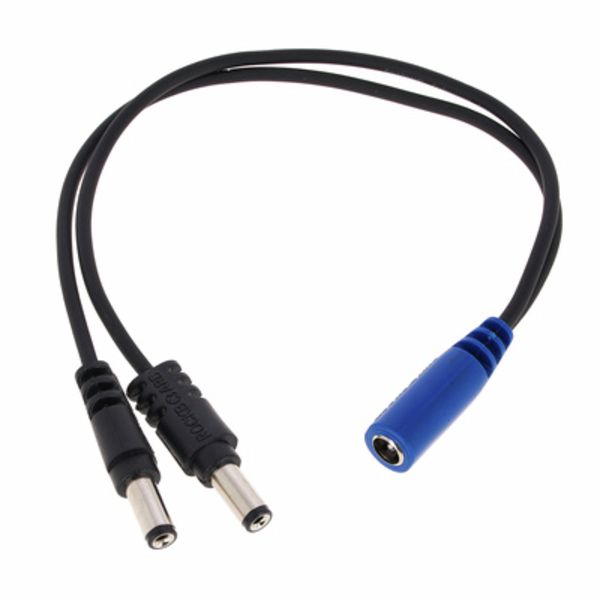
Rockboard
Ace Voltage Doubler Cable
(A voltage doubler can add the voltage of two isolated outputs, e.g. from 9 V to 18 V)
Size and weight
Lastly, keep in mind that a power brick is another component that requires space on (or under) your pedalboard. Is there enough room (with the cables plugged in), and are the board and power supply still easy to transport? If so, then go for it!
Battery power supplies
Power supplies (even with multiple outputs) are now also available in the form of rechargeable power banks with 9 V outputs. To make things even easier, you can also find special adapter cables (5 V -> 9 V) that can be used with standard USB power banks or mobile phone chargers. While battery-powered solutions have some advantages, they quickly reach their limits with very power-hungry effects.
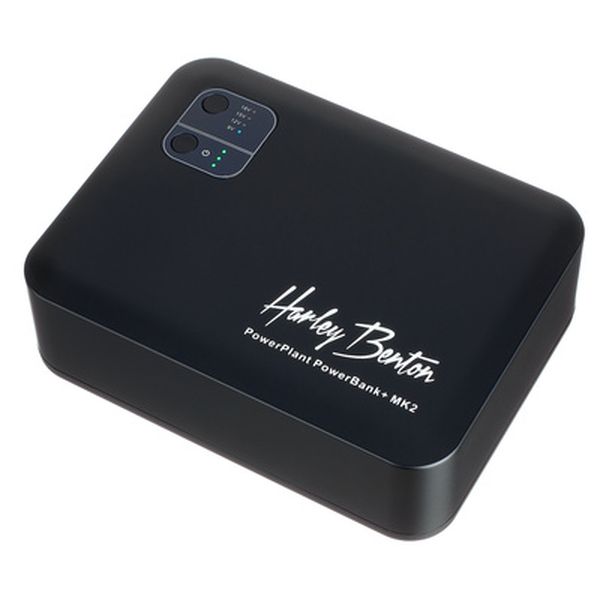
Harley Benton
PowerPlant PowerBank+ mk2
(A rechargeable power supply for pedals: Harley Benton PowerPlant PowerBank+)

myVolts
Ripcord 9V DC center negative
(The myVolts Ripcord converts mobile phone chargers and power banks into pedal power supplies)
How to attach a power brick to the pedalboard
There are several options for mounting a power brick on your pedalboard. In any case, be sure to thoroughly check the desired position beforehand, as power supplies can cause interference when positioned in close proximity to certain effects (especially wah wahs). The easiest way to attach a power brick is of course the good old Velcro tape, which is also often used to hold effects pedals in place. However, as power bricks require a lot of pedalboard “real estate” that you then can’t use for pedals, there are also more elegant solutions. Many boards offer enough space to hide a power brick underneath the board. Some manufacturers offer matching power supplies for their pedalboards (e.g. Rockboard) or boards whose dimensions match products from other companies (e.g. Cioks and Pedaltrain). In this case, the power supply can be mounted underneath the board using Velcro, clamps, or a screw system. The cables are then routed between the bars. This way, nothing stands in the way of a “clean” pedalboard.

Cioks
Sol
(The Cioks Sol fits underneath all Pedaltrain boards …)
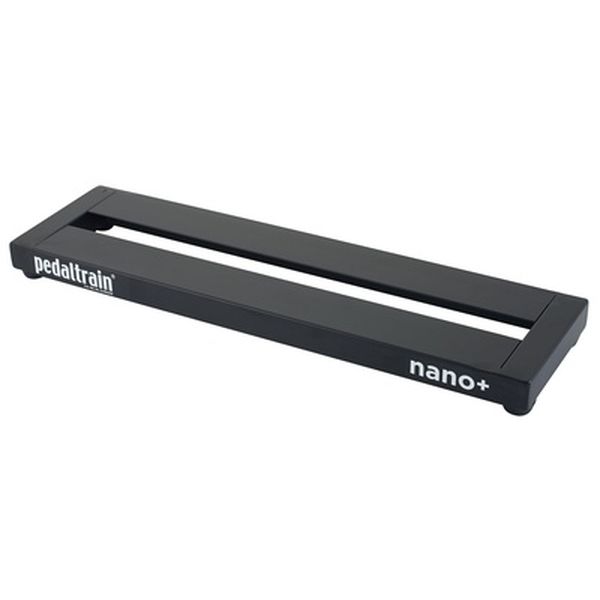
Pedaltrain
Nano+
(… such as the Pedaltrain Nano+)
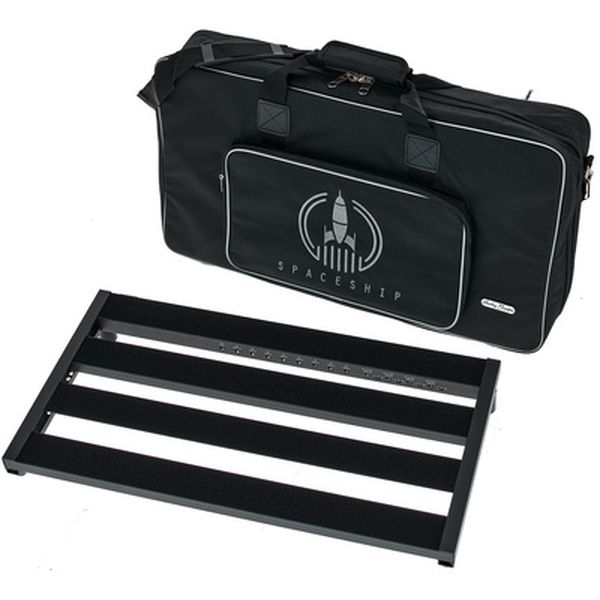
Harley Benton
Spaceship Power 60
(The Harley Benton Spaceship Power 60 offers a built-in power supply)
Which power supplies do you use? And do you have any tips and tricks for attaching them to the board? Let us know in the comments!
Which power supplies do you use? And do you have any tips and tricks for attaching them to the board? Let us know in the comments!


Comments 0
No comments yet.