
Recording engineers would agree on this universal truth in the recording studio: Preparation is vital. The entire track will sound amateurish if you don’t nail the recording phase and get the best possible take. Additionally, there is nothing worse than realizing that you have a terrible recording when it’s too late. This blog post is all about setting yourself up for success with your vocal recordings. Let’s dive right in!
Find The Ideal Recording Space
The first step is to find the optimal space where your recording will take place. It’s a common misconception that you’ll need a big fancy studio with lots of gear to succeed. The truth is, a great vocal recording can in all likelihood be done in your bedroom or living room.
When it comes to recording audio, finding the ideal space can be tricky. The room you’re in can have a big impact on the quality of your recordings, so it’s important to choose a space that will create the best sound possible.
You’ll want the room to be as “dead” as possible, without any echoes or reverberations. However, your recordings will sound unnaturally muffled if the room is too “dead”.
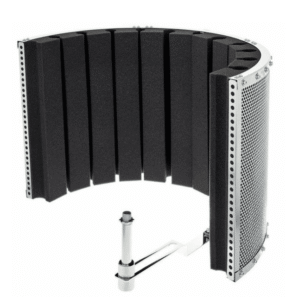
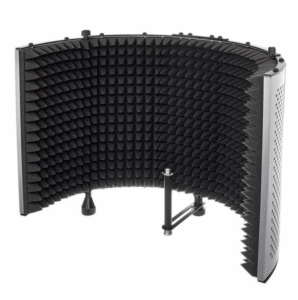
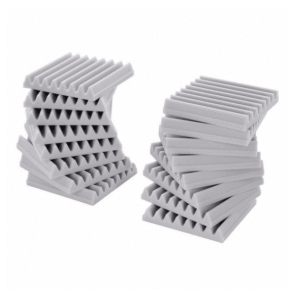
The first thing to consider is the acoustics of the room. Treating the room with some absorber panels (or by using a micscreen) is a very basic and important thing. The better the acoustic treatment is done the less it affects the recording in a bad way.
The microphone placement will be less important if the room is treated well. Of course, your room’s acoustics can be improved by using household objects (such as sofas, curtains, etc.) but acoustic absorber panels will do a much better job.
-
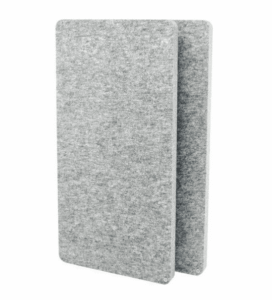
- Micscreen LE
-
- Micscreen XL
-
- t.akustik Melamine Wedges 30 Gray
-
- t.akustik PET Wall Absorber 120 SGR
Click here to go to these products
Instead, natural sound treatment using household objects is sufficient in reducing unwanted reflections.
Hard surfaces like windows and bare walls can cause undesirable reflections, so these should be covered with old blankets, fluffy towels, comforters, pillows, or window curtains. Additionally, soft furnishings like heavy carpets help to absorb reflections against the floor.
Check out our Acoustic Treatment solutions
Choose A Microphone For The Job
A large-diaphragm cardioid condenser microphone is the best choice for most people. This type of microphone has a wide frequency response and a highly sensitive capsule, making it ideal for capturing the subtle nuances of the human voice.
In addition, the polar pattern is directional, which means they pick up sound from the front and reject sound from the sides and back. This helps to reduce background noise and allows the focus to be on the vocalist.
A dynamic microphone can be used if you’re recording loud aggressive rock vocals. These types of mics are designed to be used up close. Furthermore, dynamics aren’t as sensitive as condensers and can handle higher sound pressure levels (SPL) without distortion. Ribbon mics are also worth experimenting with for vocals…
-
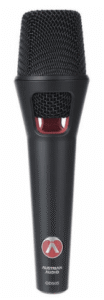
- Austrian Audio OD505
-
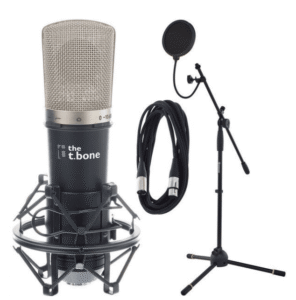
- the t.bone SC 450 Value-Set
-
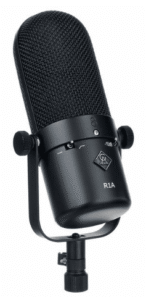
- Golden Age Premier R1A
Click here to check out the microphones
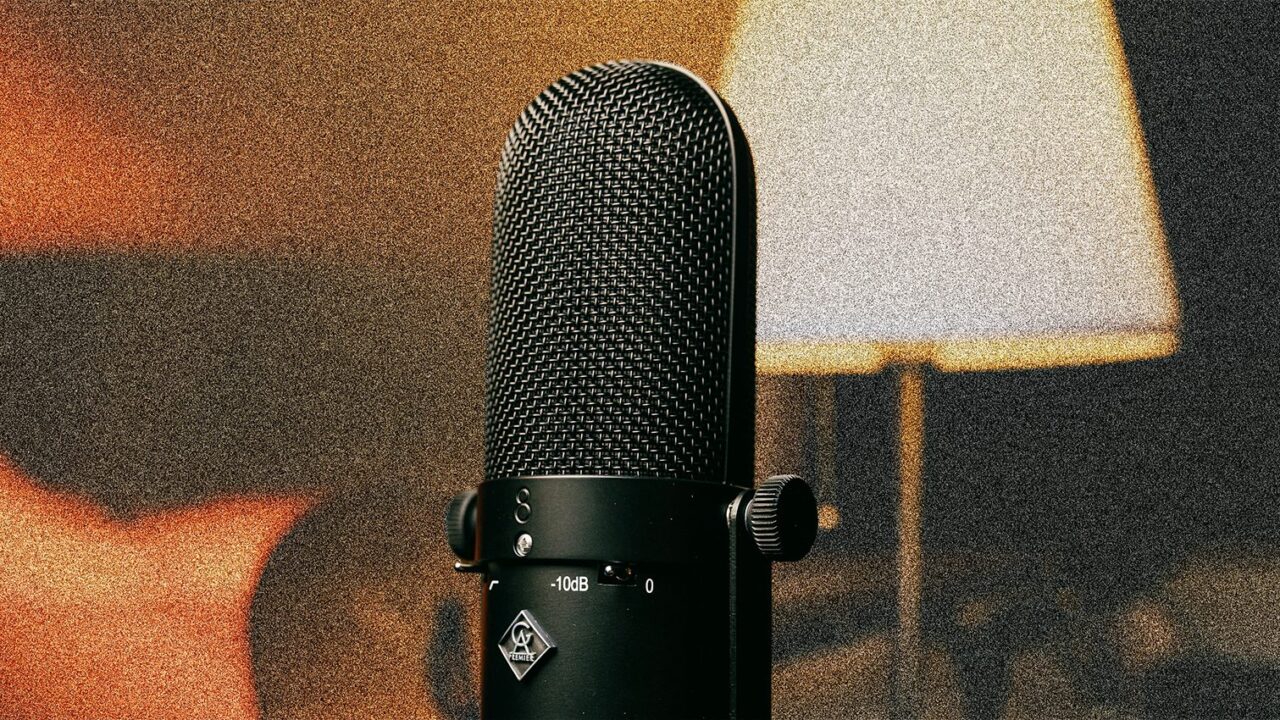
Microphone Placement
Now it’s time to find the optimal position for the vocal microphone. Mic placement makes a huge difference in tone, and properly positioning a microphone can mean the difference between a clear, professional recording and a muffled, unclear mess.
First, try to avoid positioning the mic in the center of the room. Why? This will prevent standing waves to play havoc with your recording.
Secondly, put the microphone as far away from the walls as possible. Doing so will prevent interfering resonance from the sound waves reflecting off the walls.
The optimal position is slightly closer to two of the walls. If possible, point the back of the microphone at one of the corners. This increases the distance from the on-axis to the nearest wall.
Distance & Angles
Due to the proximity effect, testing microphone distance is crucial. This is especially true with condenser microphones. The proximity effect occurs when a microphone is placed close to a sound source, resulting in a boost in low-end frequencies.
6 inches away from the singer is a good starting point for close and intimate vocals. Additionally, the tone will be more open and airy around 12 inches away from the microphone.
If you have the vocalist too far away, you might end up with a thin vocal recording plus a handful of background noise.
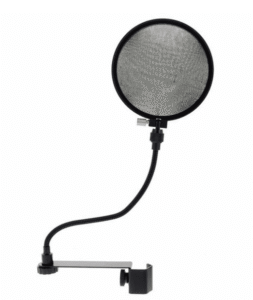
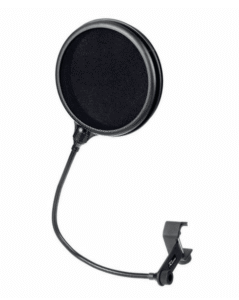
Furthermore, having the vocalist sing directly into the capsule might cause unwanted popping sounds, produced by certain breath-heavy consonants. English pronunciation contains 6 plosive phonemes: “p”, “b”, “t”, “d”, “k”, and “g”.
So how do you prevent these air blasts from hitting the capsule? You use a pop filter that disperses the air. Also, you can adjust the angle so the singer doesn’t speak straight into the capsule. Turning the microphone 15º away from the vocalist’s mouth is a good starting point.
The key is to experiment and find the sweet spot. There are no definite rules, and positioning differs depending on the voice you’re recording and what results you’re after.
-
- the t.bone MS 180
-
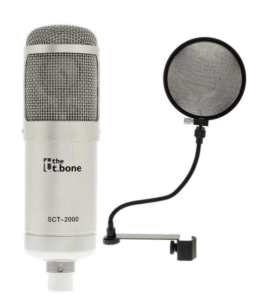
- the t.bone SCT 2000 + Popkiller
-
- the t.bone MS 200
Click here to check out the pop-filters
Set Your Levels
The last step is to ensure that you record at proper levels on your audio interface and any outboard equipment. You want to leave enough headroom to capture both very loud and very soft signals more than adequately.
A good rule of thumb is to have the sound average around -18dBFS, while peaking at -10dBFS. You are recording too hot if you start peaking at -6dBFS.
If you record with too little gain you’ll have a weak audio signal, mostly containing hum and hiss from your electronic equipment.
Furthermore, recording with too much gain can result in immediate distortion or clipping at a later stage in the audio signal chain. You’ll want to make sure that you are not overloading the input on your interface or any other gear.
-
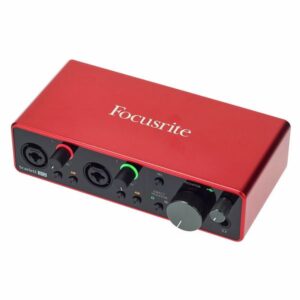
- Focusrite Scarlett 2i2 3rd Gen
-
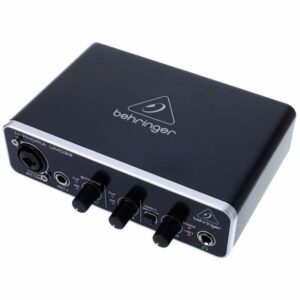
- Behringer U-Phoria UMC22
-
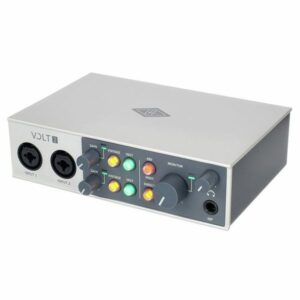
- Universal Audio Volt 2
Check out these audio interfaces
Get In The Mood
The end result will suffer if your vocalist doesn’t have the right feeling, emotion, or excitement. You’d be surprised how much the state of mind leaks into the recording. Consequently, you should be aware of the mood that your vocalist is in before you hit the record button.
You’ll want to get them in the right emotional state, whether that’s a good or bad mood. If that means telling them jokes and stories – go ahead.
Additionally, ensure that the vocalist feels comfortable with the recording setup and the ambience of the room. Make sure that they’re not nervous and that they feel like they are in control of their performance.
Finally – Hit ‘Record’!
There is a lot to think about before hitting the record button. The steps above are crucial if you want the best possible conditions when entering the editing and mixing process.
It doesn’t matter if you record Whitney Houston. A poorly recorded vocal performance is hard to fix later on. This is the reason why many singers have to re-record vocals over and over again. It’s a lot of work, but it makes all the difference when you get good results.
👉 Check out our Studio & Recording page and find your ideal setup! 🎙
Article written by Martin Kristiansen of homestudioideas.com
Did you already recorded yourself? How did you feel about it? Let us know whit a comment!


Comments 2