

Show me your pedalboard and I’ll tell you who you are… 😉
In recent years, the pedalboard has become a signature for many guitarists and often serves as a status symbol – an impression that can certainly be confirmed in conversations with fellow musicians. 🎸
Let’s be honest: a pedalboard is practically a must-have for anyone who brings more than three effects to a gig. It saves time, effort, nerves, and, last but not least, money that would otherwise accumulate over time for the purchase of batteries. And for those who don’t want to spend their time in the workshop, there is now a wide selection of ready-made boards in various designs available, which can be individually equipped without breaking the bank.
However, there are some fundamental considerations that should not be overlooked when setting up a pedalboard, and we have listed them here for you!
Pedalboard: order of the pedals
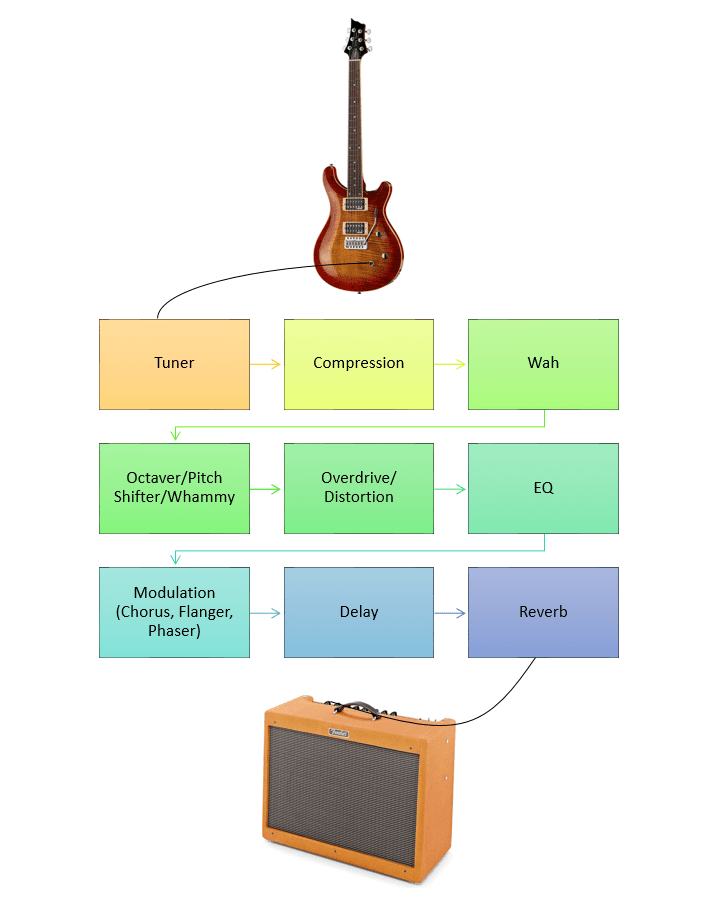
One of the most discussed topics when it comes to pedalboards is the order of effects. Of course, one can and should experiment at this point, but as a starting point and basic architecture, a relatively clear order has proven to ensure optimal sound even when using multiple pedals simultaneously.
Starting from the guitar, the order looks like this:
- Wah-Wah (Envelope Filter, Touch Wah)
- Whammy Pedal (Octaver)
- Dynamics Effects (Compressor, Limiter)
- Pre-Distortion EQ (Equalizer)
- Overdrive (Booster, Distortion, Fuzz)
- Post-Distortion EQ (Equalizer)
- Pitch-Shifter (Harmonizer)
- Modulation Effects (Chorus, Flanger, Phaser, etc.)
- Delay
- Reverb
- Amplifier Input
If you have an amplifier with an effects loop, then two more cables are added because the first half of the effects pedals used should be placed before the input (preamp), and the second half in the effects loop before the power amp.
Here’s the setup for an amplifier with an effects loop:
a. Guitar
- Wah-Wah (Envelope Filter, Touch Wah)
- Whammy Pedal (Octaver)
- Dynamics Effects (Compressor, Limiter)
- Pre-Distortion EQ (Equalizer)
- Overdrive (Booster, Distortion, Fuzz)
b. Amplifier Input
c. Amplifier Send Jack
- Post-Distortion EQ (Equalizer)
- Pitch-Shifter (Harmonizer)
- Modulation Effects (Chorus, Flanger, Phaser, etc.)
- Delay
- Reverb
d. Amplifier Return Jack
You are currently viewing a placeholder content from YouTube. To access the actual content, click the button below. Please note that doing so will share data with third-party providers.
Powering your Pedalboard
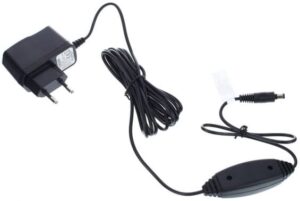
When choosing a power supply, it depends on the number of pedals and their voltage and current requirements. Typically, most effect pedals are powered by 9-volt direct current (DC). However, some devices may require 12, 15, or 18 volts. Before selecting a power supply, it’s advisable to take stock of each pedal’s voltage and current needs. You can usually find this information in the technical specifications of the pedals, included user manuals, or on the manufacturers’ websites.
Daisy Chain


Pedalboard: Multi-output power supplies
In such cases, a multiple power supply unit provides a clean and tidy solution. These units typically offer not only greater power output but often also feature galvanically isolated outputs, which help prevent ground loop issues. If you opt for such a model, pay attention not only to the maximum current output but also to the capacity of each individual output. Digital effects typically require more power than, for example, an analog overdrive, and if any output fails to provide sufficient power, it can lead to problems. Many of these multiple power supply units offer not only different currents but also provide various voltage options. Some are even capable of simulating low battery conditions through continuous voltage regulation, which can result in a better sound, particularly with older analog pedals!


Polarity
It has become standard practice for the power connection on pedals to be polarised so that the negative pole is in the center (Center Negative). If you happen to own a power supply with reversed polarity and wish to connect standard effect pedals, you will need an additional cable for polarity reversal.
Connectors
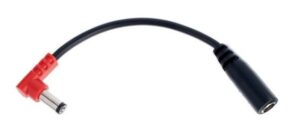


- Voodoo Lab Pedal Power Cable PPBAT
- Rockboard Power Ace Polarity Converter
- Voodoo Lab Current Doubler Adapter PPAP
Pedalboard: Wah-Pedal and power supplies


- Dunlop Cry Baby GCB95 Wah Wah Pedal
- Vox VX V847A Wah-Wah Pedal
- Mooer Envelope Analog Auto Wah
- Harley Benton Custom Line WP-60 Wah
Cables
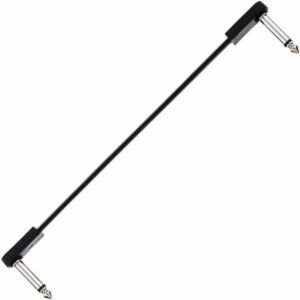
The effects are positioned in the correct order, a power supply with all adapters is available: now it’s time to wire everything up. Short cables should be used here, preferably space-saving versions with angled connectors. The EBS Flat Patch cables are highly recommended thanks to their insanely flat plugs, allowing the pedals to be positioned more closely on the board: this might even allow for fitting an extra effect or two onto the board compared to using bulkier jack plugs. Before deciding on a board, it’s best to set up your configuration “dry” with cables and all the components it will include to test how much space is needed. If you’re using mini pedals, don’t place them too close together. You should still be able to easily and safely switch them individually, depending on your shoe size and footwear.


Pedalboards


Secure the pedals to the pedalboard
Securing the effects on the pedalboard is another important aspect to consider. Velcro tape has the advantage of allowing pedals to be swapped quickly, but it doesn’t always hold securely. On some pedalboard surfaces, Velcro tape may not adhere well, and pedals can come loose. When applying Velcro tape, make sure the adhesive surface is clean and dry. Additionally, the board should not be placed upside down during transport; it should always rest on its “feet.”
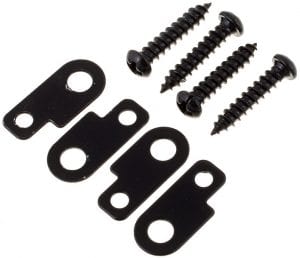
For those who want the pedals firmly secured, Mounting Plates are the way to go, which are attached via screws. However, this method only works with wooden boards; the aluminum rail system typically utilizes Velcro tape (simple or 3M variants). Some guitarists also secure pedals using cable ties looped around the rails. While this method may not win any beauty contests, it serves its purpose effectively.
Little add-ons!


Closing words
You are currently viewing a placeholder content from YouTube. To access the actual content, click the button below. Please note that doing so will share data with third-party providers.
Feedback: how does your pedalboard look like?
Describe us your pedalboard and share with us the mods and additions you added to it!


Comments 15