
“A compressor makes a signal louder!” is a phrase often heard from beginners, but that’s actually a common misconception. In fact, a compressor works by making the incoming signal quieter! Don’t panic, everything can still sound louder in the end, as you’re about to find out.
Understanding compression: different types of compressors
There are four main types of compressors, which can have identical parameters but use different approaches and technologies to achieve the desired effect.
The oldest type is the tube compressor, which was developed for broadcasting in the 1950s. In a tube compressor, the gain of a vacuum tube is regulated by a variable bias voltage that depends on the input material. With tubes, however, the process isn’t linear: the louder the signal, the greater the amount of compression. And of course, tubes also tend to colour the sound. The most legendary compressor of this type is undoubtedly the Fairchild 670. Today, tube compressors are often used to “glue” multiple signals together into a coherent sound, such as on buses.

Klark Teknik
2A-KT

Heritage Audio
Tubesessor
The most widely used type of compressor is the VCA compressor. Compressors of this type are based on a voltage-controlled amplifier, in which the amount of amplification is regulated by a control voltage depending on the input signal. The advantage of these compressors is that they allow for very precise adjustments and are considered to have a neutral sound, which makes them very versatile. The two best-known models are probably the dbx 160 and the SSL Bus Compressor.
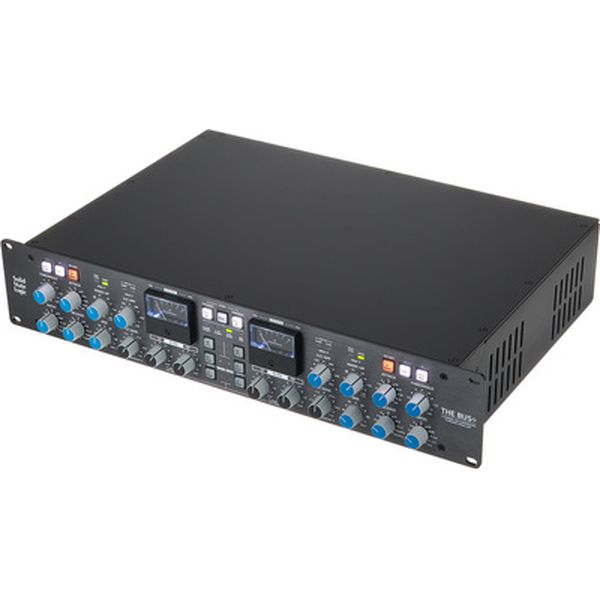
SSL
BUS+
FET compressors are the fastest compressors available. Developed as the successors to tube compressors, they use field-effect transistors to imitate the characteristics of tubes, albeit without the disadvantages such as high voltages, excessive heat, and a short lifespan. This worked, but they also tend to colour the sound quite strongly. And they’re fast: The legendary Urei 1176 achieves attack values of an incredible 20 µs – that’s microseconds or millionths of a second! This is perfect for capturing fast transients.
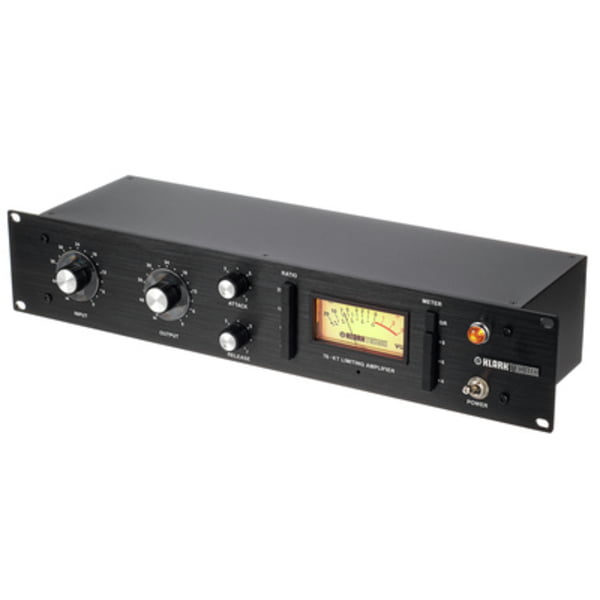
Klark Teknik
76-KT
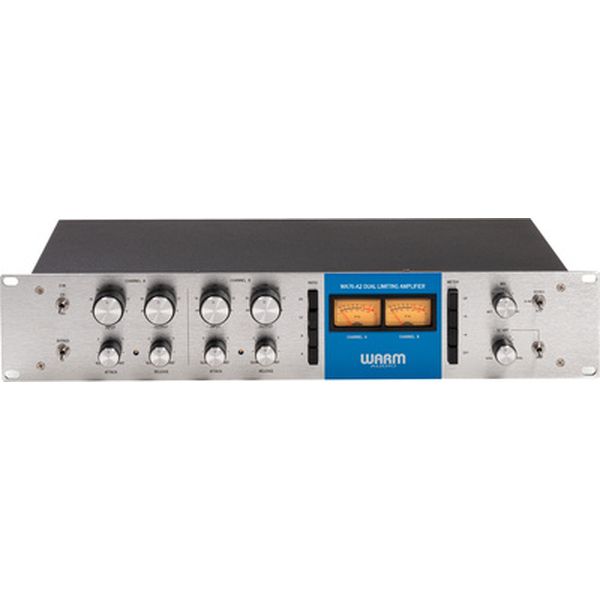
Warm Audio
WA76-A2
Lastly, there are optical or opto compressors. They use a light source whose brightness changes depending on the volume of the input signal. A phototransistor then registers the amount of light and regulates the resistance accordingly. More light leads to less resistance, which in turn increases the amount of compression. Opto compressors are often used for signals that require a wider dynamic range, such as vocals or bass. The best-known example is the Teletronix LA-2A.
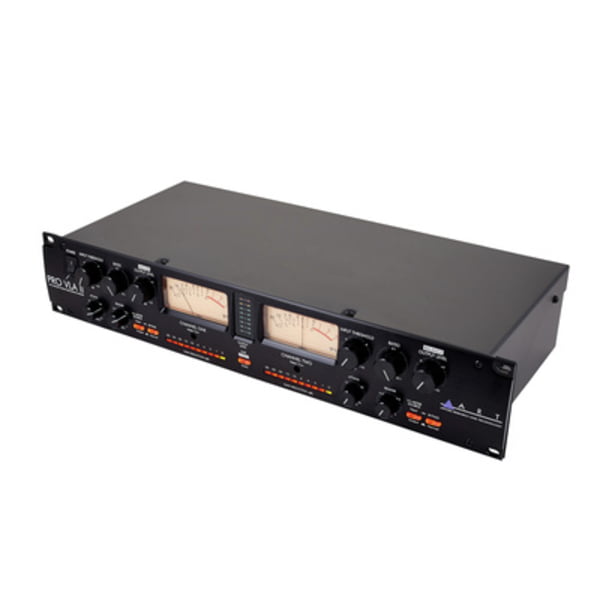
ART
Pro VLA II
Understanding compression: When to use a compressor
In a nutshell, a compressor is used when the dynamic range of a signal is too wide. For example, this can be the case with vocals if the song consists of loud and quiet sections, or if the singer doesn’t always sing at a consistent volume. Compression can then help the voice cut through the mix and hold its own against the rest of the band. Drums are also a good example when individual hits stand out too much and need to be “tamed”. A masterfully played violin at a solo concert, on the other hand, wouldn’t usually require compression, as a wide dynamic range is desired in this case.
Another application is the proverbial “glueing” of signals that were recorded separately but should sound like a coherent unit. You can do this by routing these signals to a bus in the mixer or DAW and compressing them as a whole. Suddenly, they sound as if they’ve always belonged together. By the way, this technique also works very well with software instruments.
A compressor is also often used on the main stereo mix to gently increase the loudness and weld all the signals together. Finally, you can use a limiter setting to capture level peaks and avoid clipping.

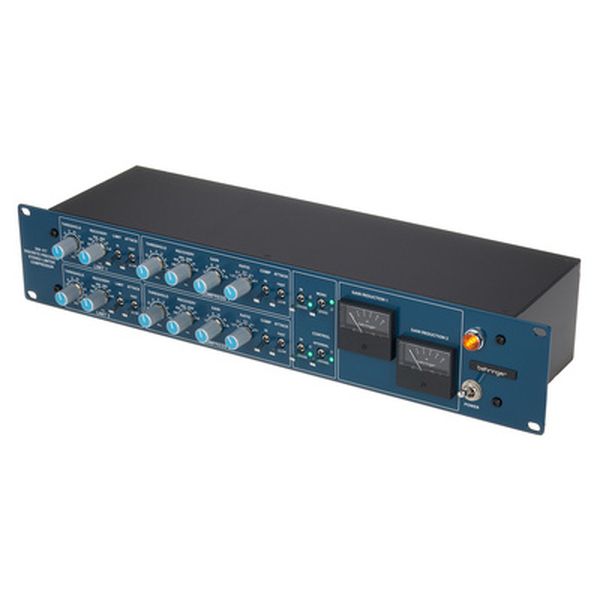
Behringer
MDX2600 V2
Understanding compression: how a compressor works
Next, let’s take a look at the controls of a compressor. First things first: you won’t find all of these settings on all types of compressors. But we’ll go through them all, so that you know which button does what and what happens when you turn a knob.
A compressor first receives an input signal. You can usually control its level using an input amplifier, often labelled Input Gain. The next control determines the signal amplitude (level) at which the compressor jumps into action: the threshold, the value of which is specified in dB. Compression only occurs when the level of the input signal exceeds this value. Signals that are quieter than the threshold aren’t processed.
The amount of compression is given as a ratio. A ratio of 1:1 results in – you’ve guessed it – no compression at all. However, such a setting can still be useful, e.g. if you’re using the compressor purely for its sound colouring characteristics. With a value of 2:1, a signal that was 2 dB louder than the threshold before compression will be only 1 dB louder afterwards. With a value of 8:1, the signal is attenuated by a factor of 8, and so on. A compressor with a factor of 10 or more is considered a limiter. Noticed something? All the compressor has done so far is that it has made certain components of the signal quieter, i.e., attenuated them.
Behringer
369-KT
Let’s continue with two values that determine how fast a compressor goes to work. Attack determines how quickly it takes to reach the compression value set with the ratio control, measured from the moment the threshold is reached. Release, on the other hand, determines how quickly (or slowly) the compression ends when the level falls below the threshold again.
Some compressors also offer the option of determining how abruptly or gradually the compressor affects the signal when the threshold is reached. This is called the knee. A “hard knee” setting results in a sharp bend in the level curve at the threshold point, while a “soft knee” delivers a more gentle compression characteristic that begins gradually and gets more intense as the level increases.
Understanding compression: Louder, after all
Up to this point, the compressor has attenuated the loud peaks, while the quieter parts of the signal have remained unprocessed. If you now boost the entire signal using the amplifier at the output, which is often labelled makeup gain, the overall loudness increases, as the difference between the loud peaks and the quieter sections is now smaller. Mission accomplished!
Understanding compression: How to adjust a compressor
Some tutorials recommend certain standard values for specific compression tasks or input signals. However, once you realize that the input gain and threshold directly affect each other, you’ll quickly come to the conclusion that such information is useless. It’s impossible to recommend specific settings, as the range of signals to be processed varies widely and every input signal is different. Experimenting while listening closely is therefore the best way to approach compression. And the great thing about compressors is that it’s easy to hear what happens when you turn a knob. At least now that you know what the different controls do.
We hope that the knowledge of how different types of compressors work and what the various knobs and buttons do will help you achieve the desired results quickly and effortlessly!
Understanding compression: your feedback
Do you have any questions or ideas about working with compressors? Leave us a comment, we look forward to hearing from you!
This article is an adaptation of a piece originally written by Lars Lehmann, who is credited as the author of the original German t.blog article.


Comments 0
No comments yet.