
DJ transitions are the basic tools of the trade for any DJ. No matter if you’re playing vinyl records, digital files, or music from your smartphone: with these five basic techniques, your transitions will always be flawless.
DJ Transitions: Fading
This is the easiest method: depending on the music, a simple, carefully executed fade can be a great-sounding transition. To do this, simply turn down the channel with the track that’s currently playing, while at the same time turning up the other channel with the new track. Ideally, both tracks should be playing in sync. If this is not possible, e.g. because the tracks have completely different tempos or you cannot sync them precisely, pick a section without a beat in at least one of the tracks.
Beatless breaks can be mixed together very nicely without the rhythms clashing, even if the tracks have completely different BPMs. If you want to maintain or even increase the energy of the music, the new track should continue with a strong groove after the transition. At this point at the latest, the previous track should no longer be audible, as it would otherwise distract from the new track.
You are currently viewing a placeholder content from YouTube. To access the actual content, click the button below. Please note that doing so will share data with third-party providers.
DJ Software: Mix Transition
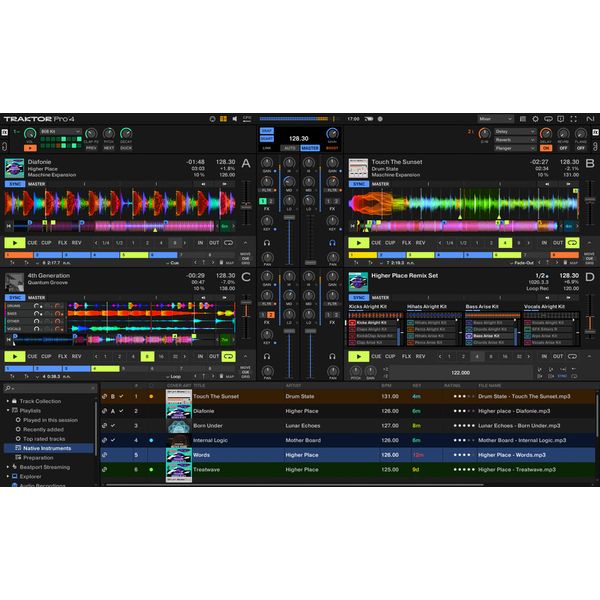
If you have both tracks running in sync, you can get creative with the tools of your DJ mixer, such as volume faders, equalizers, or effects. Almost all club tracks have a section at the end or in the middle where the beat stands on its own. If you’re using DJ software or digital players, you can also loop this section and let it run almost indefinitely.
Now it’s time for the mix transition: To ensure that you have the entire range of the faders to work with, you should adjust the basic volume of both tracks with the gain controls. It also makes sense to initially reduce the bass in the new track to keep the energy in the bass range clearly defined.
Depending on the key of the two tracks, you can create interesting harmonic changes by alternately fading the bass EQs in and out. Too much energy in a track’s body can be filtered out by cutting the mids and/or high frequencies to keep the mixed signal clean and powerful. You can also use flanger and phaser effects to dramatically highlight the previous track in the mix before the next track takes over. To come out of the transition perfectly, you can then cut, wash out, or backspin the previous track.
Never heard these terms before? Keep on reading!
Cut
Genres such as R’n’B or hip hop rarely have suitable beat sections for extended, exciting transitions. In this case, hard cuts are often more effective. These are easier to achieve cleanly with a crossfader. Cuts are also a great way to combine tracks with completely different tempos. However, make sure that both tracks have about the same energy. This means that you need to know your tracks well, but that applies to all aspects of DJing.
Here a few simple steps to understand how to make a cut:
- Cue the following track to the desired starting position.
- Wait for the next downbeat (the first of four beats in a bar).
- Use the crossfader to switch instantly from the current track to the other channel while simultaneously hitting “Play” on the next track.
- Vinyl DJs might perform a loose scratch here.
- Digital DJs can simply press “Play”
- If you don’t have a crossfader, you can perform a hard cut using the volume faders.
- In this case, the following track should already be playing, as you need both hands to control the faders.

DJ Transitions: Backspin, Brake and Power-Off
Backspin
Backspins are an integral part of turntablism culture. They serve as an abrupt and definitive transition to the next track. To do this, use your hand to vigourously spin the record that is playing backwards shortly before the end of the transition or cut. This creates an exciting sound effect! This can also be simulated using the jog wheels of controllers and digital players like CDJs. Remember! Make sure that the jog wheels are in “Vinyl” mode.

Brake
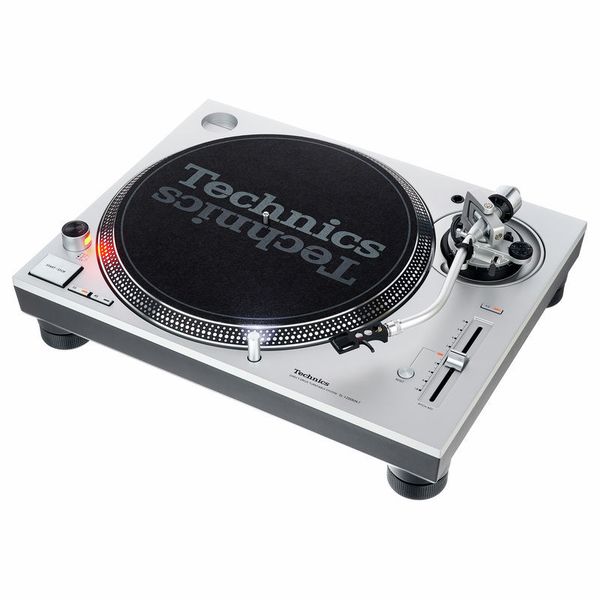
A gentler version of the backspin is the “Brake“. Here, the current track is simply stopped using the start/stop button, so that the next track can take over. When you hit “Stop” on a turntable like the famous Technics SL-1200, the record does not stop abruptly, but instead produces a characteristic (slow down) stop sound. This can also be imitated with digital players if they have an adjustable stop speed.
Power-off
The “power-off” effect, on the other hand, can be achieved with DJ turntables. It is created by completely powering down the turntable while the record is playing. The record then continues to play, getting slower and slower, and the pitch of the track gets lower and lower until the record comes to a complete stop. It also can be authentically emulated with DJ software by adjusting the stop tempo to max. Vinyl DJs like to use this effect at the end of their set or for a deliberately noticeable transition (“break”), e. g., during a genre change.
Wash-Outs
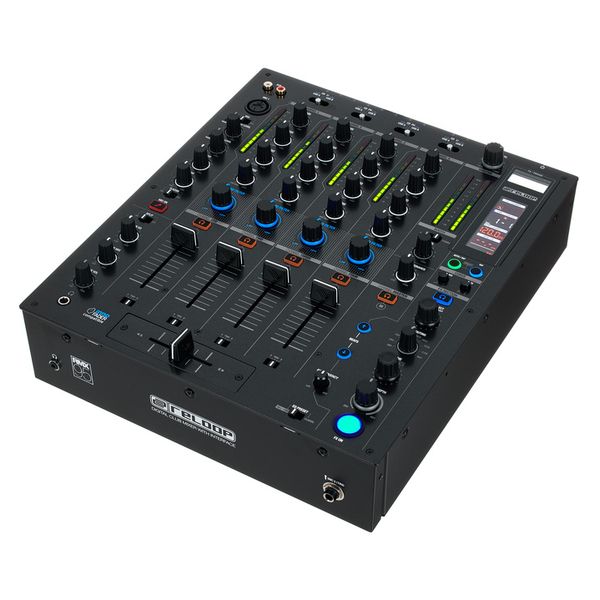
Most modern DJ mixers, such as the Reloop RMX-95, offer built-in effects such as delay (echo) and reverb. The sample applies to DJ software. All of these effects can be used for wash-outs. To do this, increasingly apply effects to the current track to wash out (hence the name) the sound in the mix. When the track is then stopped, only the echo or reverb tail remains. Meanwhile, the following track continues to play in the mix. Rhythmic delay wash-outs sound particularly good in beat-synchronised mixes. Reverb wash-outs are ideal for transitions between tracks with different BPMs. Of course, you can also combine all of these techniques. Happy mixing!
DJ Transitions your feedback
What’s your favourite way to create DJ mixes and transitions? Let us know in a comment!


Comments 3