


11. Changing Strings: Classical Guitar
The general principles are the same as for electric/acoustic guitar - see previous pages. Both the bridge and the headstock are rather different, however.
Bridge
Traditionally, the string is threaded through the bridge and around itself in such a way that its held in place by friction alone, although some players add a knot for extra stability. Proceed as follows:
Step 1:
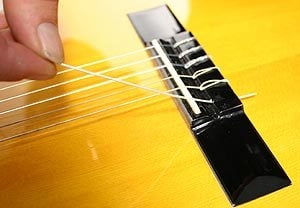
Thread the string through the hole in the bridge as shown.
Step 2:
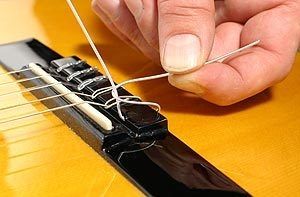
Pull sufficient length of string through the hole to thread it around itself as illustrated.
Step 3:
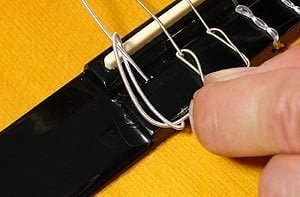
Loop the string around itself as shown, then feed the end of the string back under itself behind the bridge. A knot may be added at this point so that it catches - the plain strings are usually twisted several times more first.
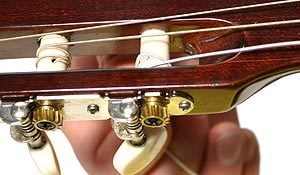
Headstock
Though the classical headstock looks rather different, it is actually the same as the electric/acoustic guitar in underlying principle, the only difference being that the strings are wound around rollers recessed in a slotted headstock, rather than machine heads which protrude from the guitar.
Step 4:
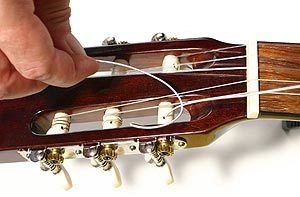
Feed the string through the hole in the roller, remembering to leave enough slack for at least five turns of the machine head, and loop it around itself so that the end will be held tight when tension is applied to the string.
Step 5:

Tuck the end of the string out of the way under the next roller, or behind the top of the headstock.
Step 6:
Turn the machine head until the string reaches approximately the correct pitch.
Step 7:
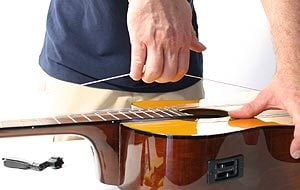
Gently stretching the string upwards reduces settling-in time, though classical strings will still take longer to settle than steel strings, and they never reach the same degree of stability..
Step 8:
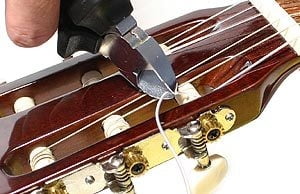
Finally, trim the end of the string close to the roller.
Din kontaktperson
Produkthighlights


-
0.008 Strängsatser
-
0,009 Strängsatser
-
0,010 Strängsatser
-
0,011 Strängsatser
-
12 strängars gitarrsatser

