


5. Microphone Positioning
In this situation, heaven and hell are very close, almost within touching distance, because even a few centimeters can make a significant tonal difference. Generally, for what's known as a direct recording, the microphone is placed quite close to the speaker, nearly touching the speaker cloth or the front grill. If you aim the mic precisely at the center of the speaker, you'll get a sound with very dominant high frequencies. Move it toward the edge of the speaker from the center, and the highs get gradually reduced.
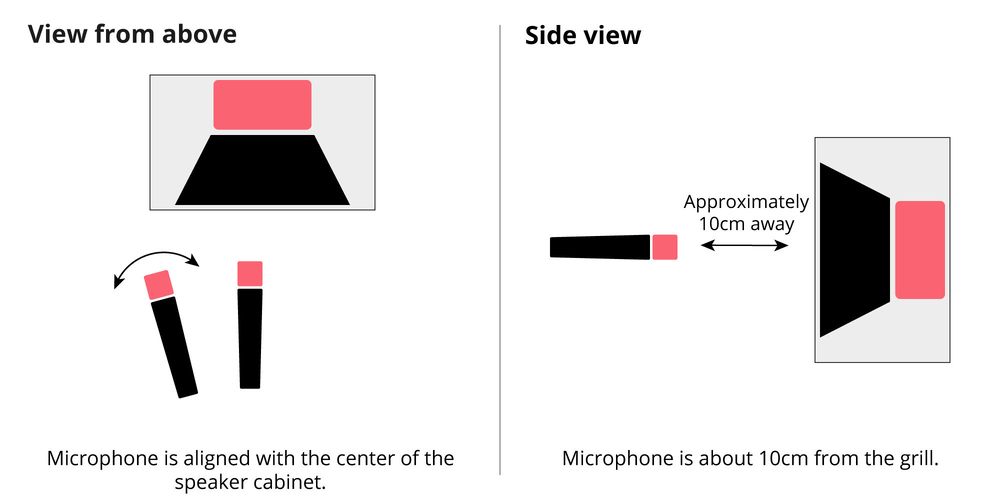
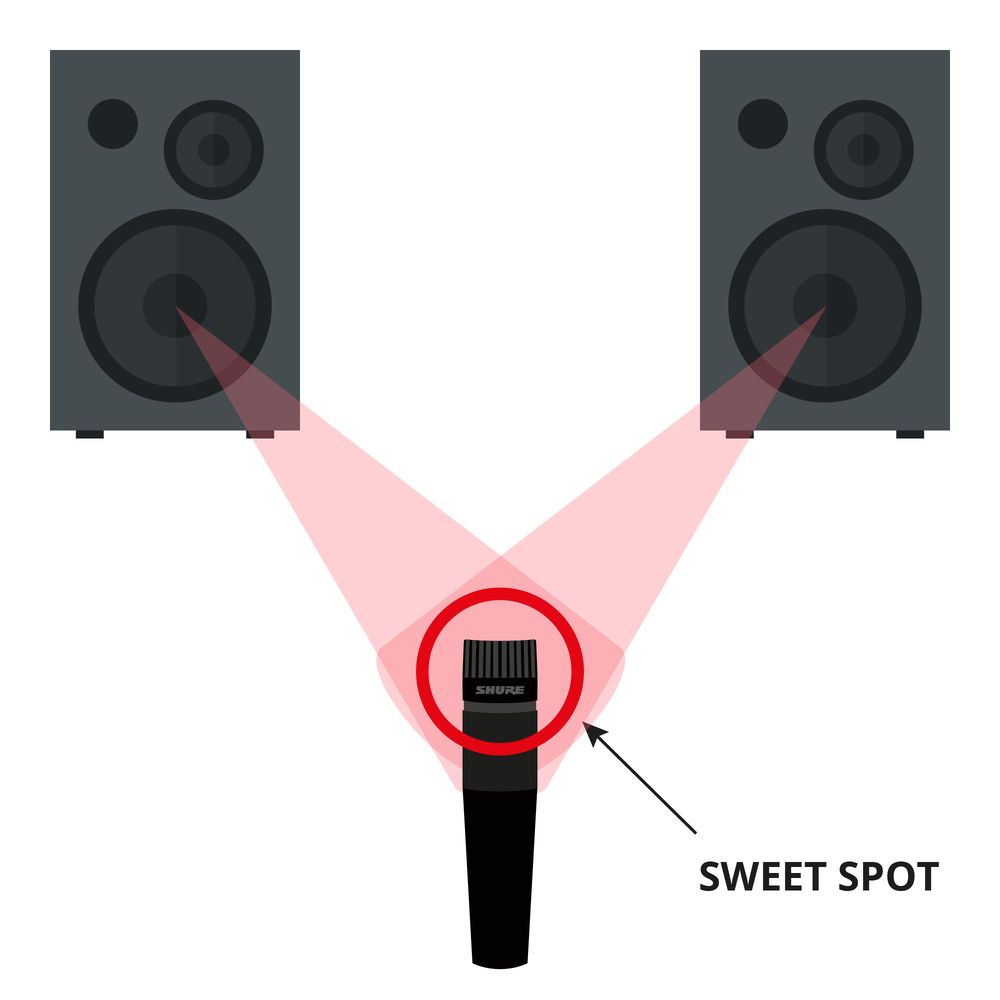
Finding that famous sweet spot during recording is a trial-and-error game. A good spot typically lies around the transition from the dome to the cone, but this varies from speaker to speaker and is just a starting guideline.
Quick tip: Sometimes, with a dark and dense front grill, it's tough to see or locate the speaker. If that's the case, shining a small flashlight or phone light through the fabric of the speaker can help define the speaker's contours better.

Here are three different microphone positions and their tonal impact:
Shure SM-57 - Center
Shure SM-57 - Edge between the dome and cone
Shure SM-57 - Cone
As straightforward as it seems or sounds, mic'ing a guitar speaker isn't a walk in the park. Apart from the microphones, it takes quite a bit of expertise and experience to get a reasonable sound. Additionally, you need a space that allows noise beyond room volume if you plan to push your guitar amp into power tube saturation. With a 15-watt tube amp, that can already be quite loud, but a 100-watt amp creates a tremendous sound pressure when driven hard. In such cases, a Power Soak or Power Attenuator comes in handy.

This device is placed between the amp and the speaker cabinet, converting part of the power into heat. The remaining signal sent to the speaker cabinet retains all the coveted tonal characteristics of a cranked tube amp but at a moderate volume.
Your Contacts
Product Highlights


-
DI Boxes
-
USB Audio Interfaces
-
Firewire Audio Interfaces
-
Electric Guitar Preamps
-
Amp Microphones